Table view is a powerful calendar view for working with your calendar data in a spreadsheet-like format. The calendar administrator can enable Table view and set the default options.
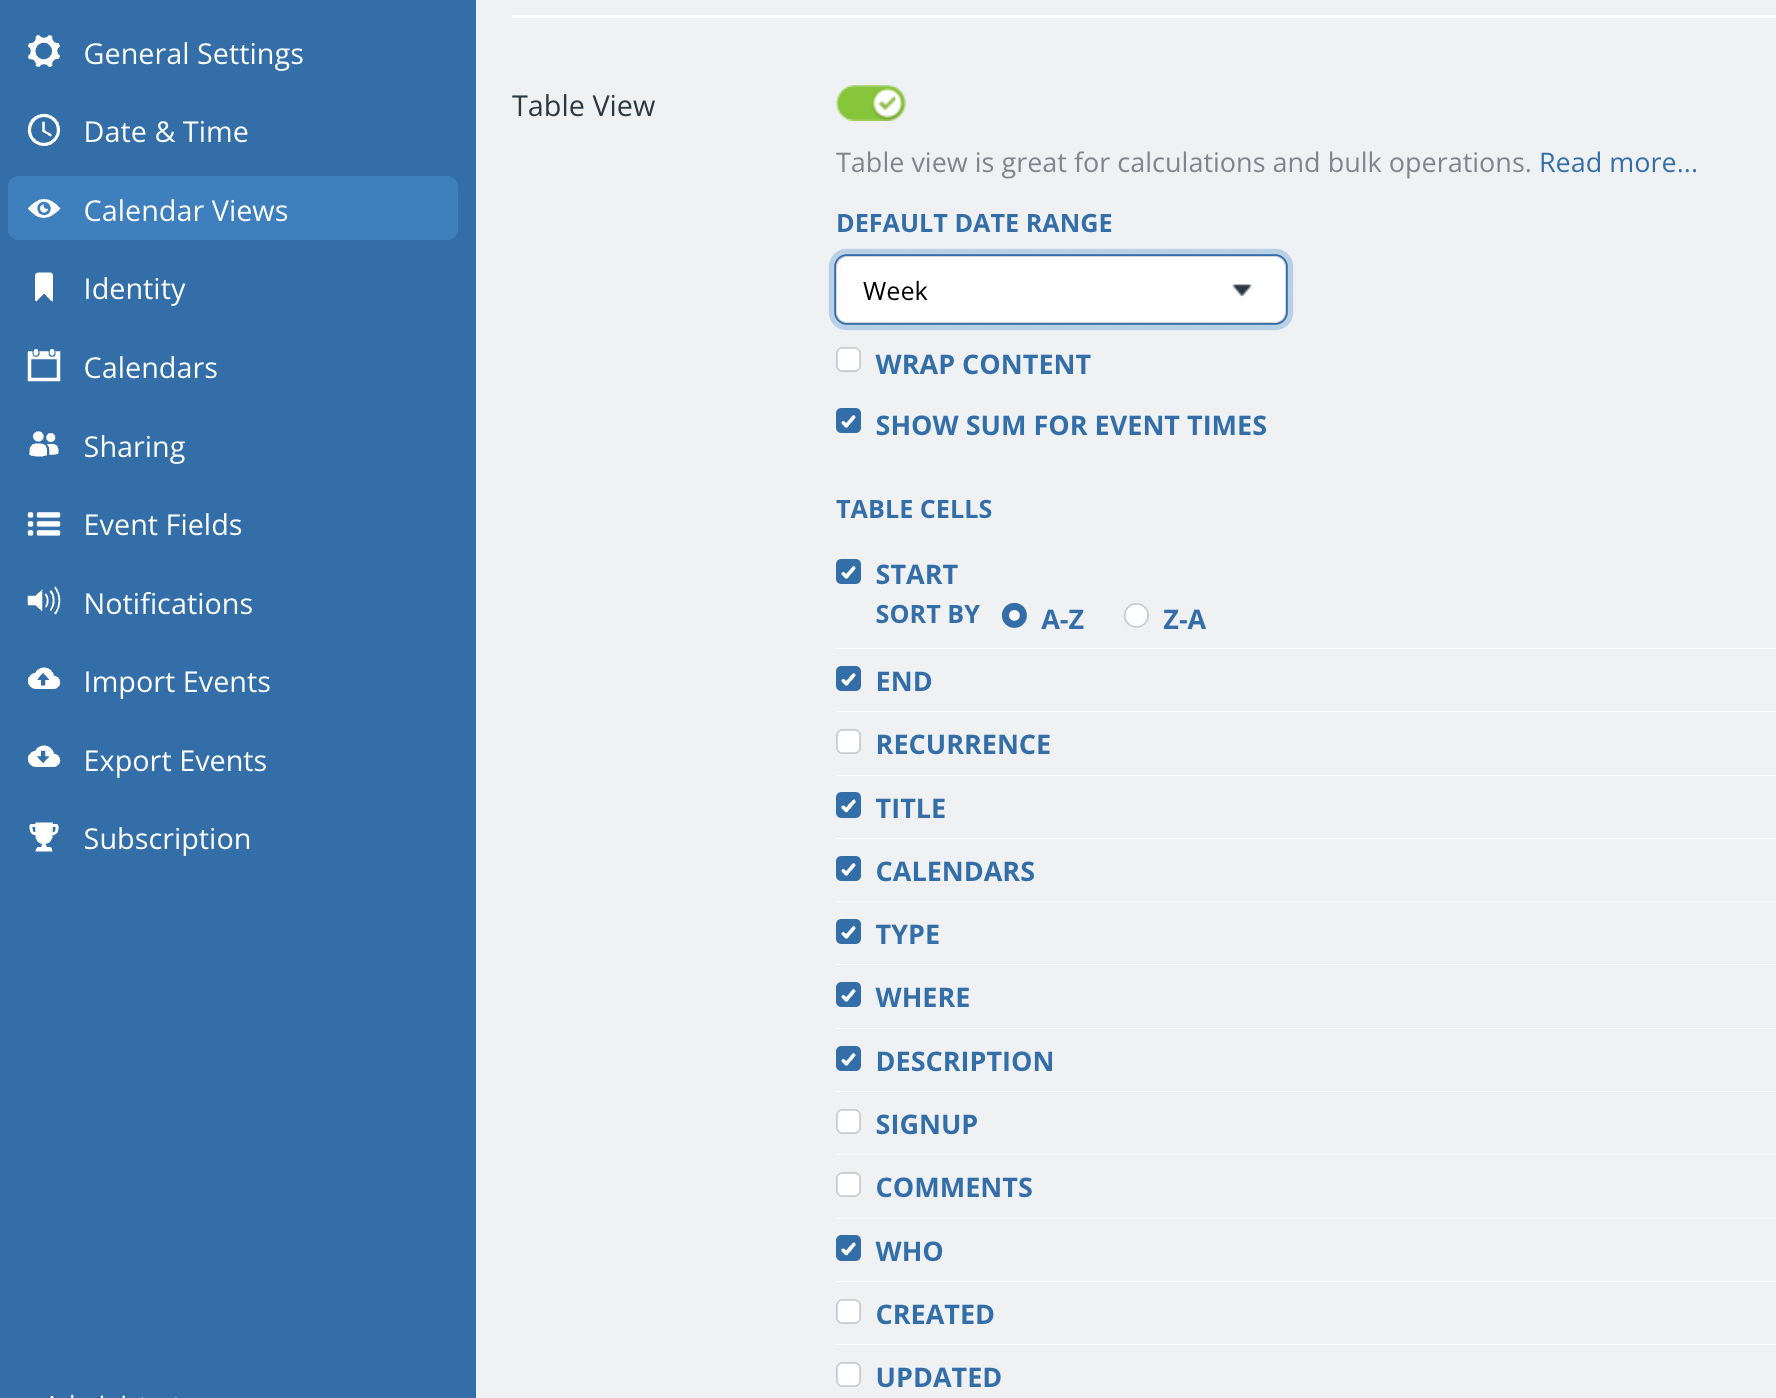
Default options for Table view
All users can adjust these options when using Table view. The default options simply set how Table view will load initially.
Default date range
Choose which date range Table view will show by default.
Wrap content
Check the box if you wish to have cell contents wrapped by default.
Sum for event times
Check the box if you wish to have Table view show the sum of event times for displayed events in the bottom row.
Default sorting preference for date/time
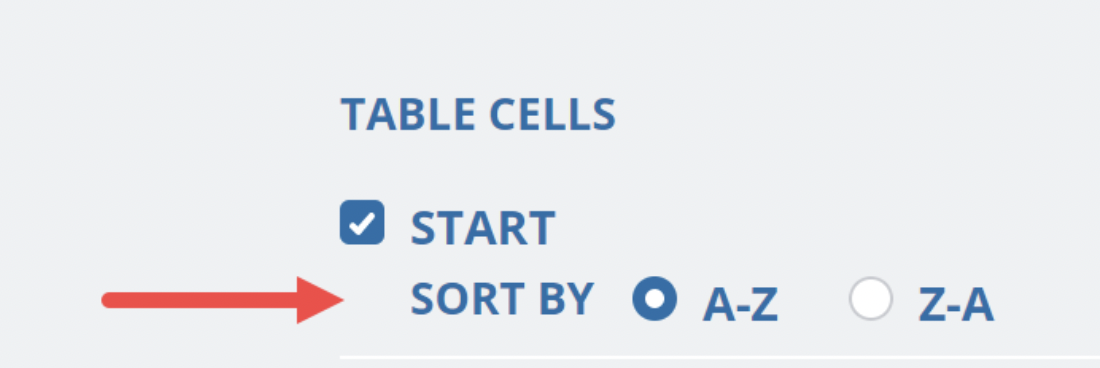 You can set a default sorting order for the Start column, which displays the starting date and time for each event. (All-day events will show only the start date.)
The Start column displays the starting date and time for each event. Set the sorting preference to ascending (i.e., chronological, A-Z) or descending (i.e., Z-A, reverse chronological) for this column.
Here the Start column is sorted in Ascending (A-Z) order, showing events in chronological order:
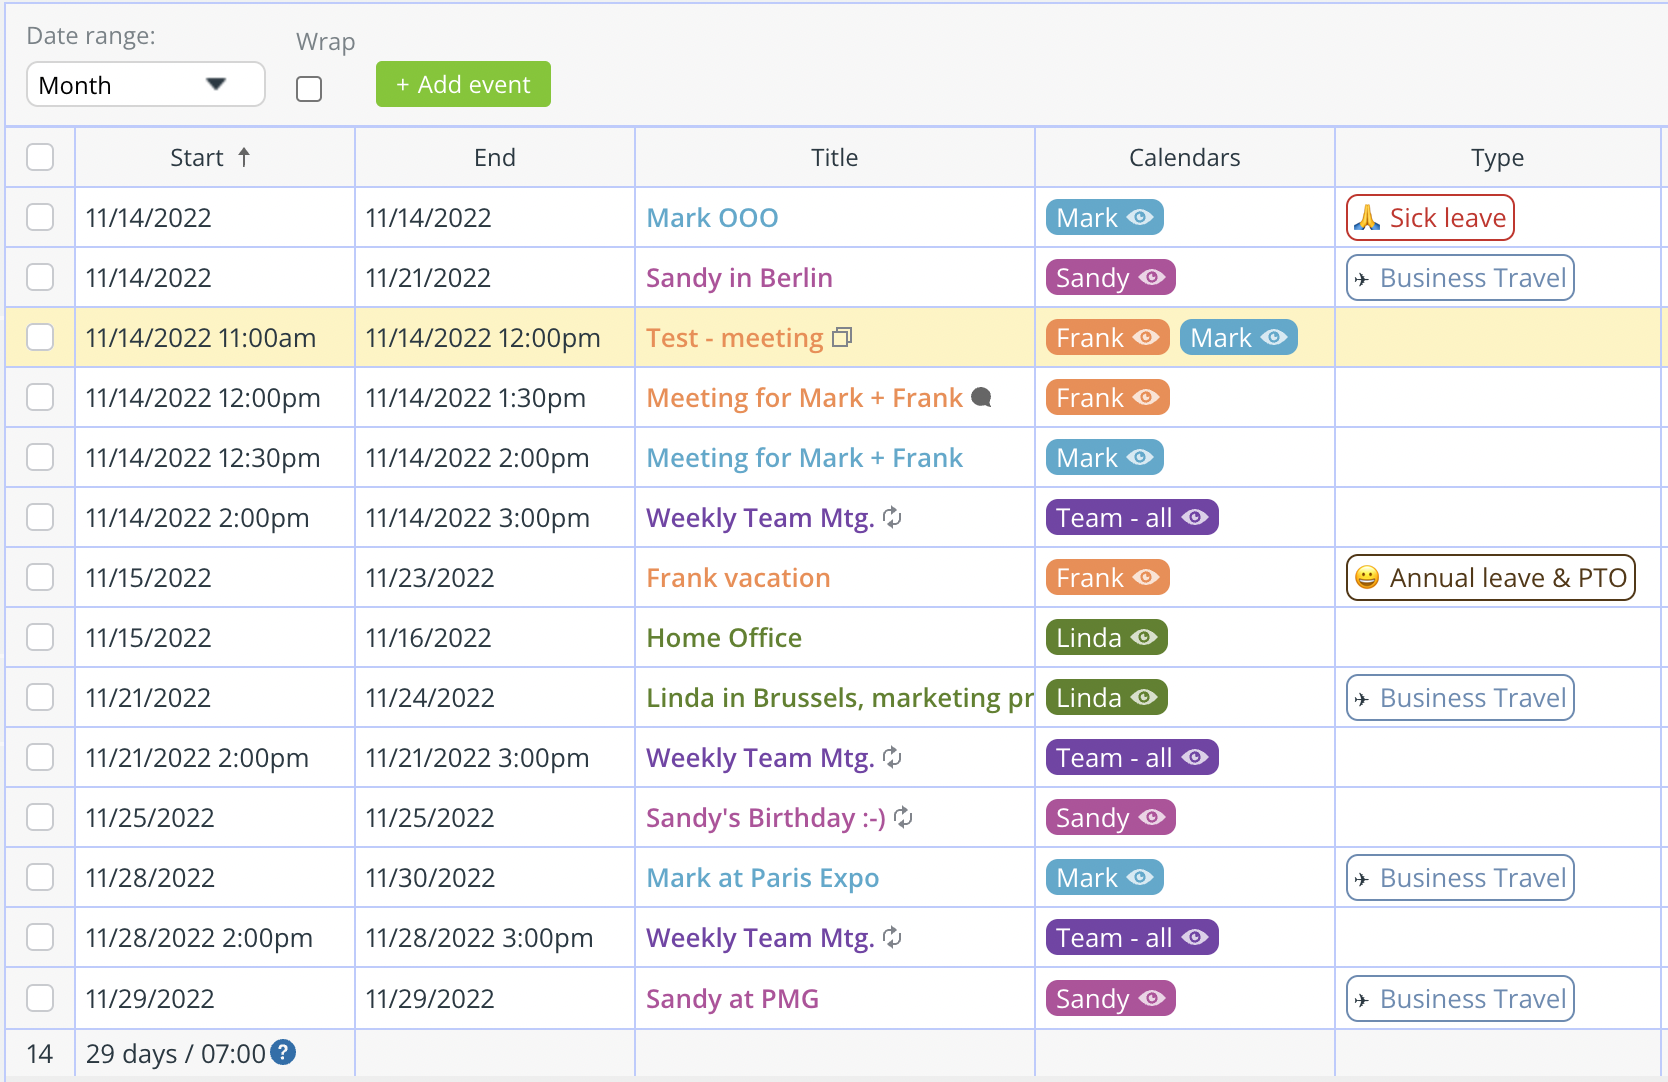
Note that you can always change the sorting order from the default while working with Table view.
Set default columns
In Table view, each calendar field displays as a separate column. You can choose which columns show by default in Table view by using the checkbox next to each column. You can always hide or show columns as needed when using Table view.
Adjust column width
When using Table view, you can adjust the column width just like you would in a spreadsheet. Drag the border of a column to adjust the width as you wish.