
The calendar administrator can change a sub-calendar’s status to deactivate or reactivate it. Deactivating a sub-calendar does not delete it but makes it temporarily inaccessible to all users. Deactivated sub-calendars are not counted against the number of included sub-calendars in your subscription.
Deactivating a sub-calendar
Each sub-calendar has a status option that can be used to activate or deactivate it.
Deactivating a sub-calendar hides it from all users without deleting it. If you no longer need the data from a sub-calendar displayed on the calendar but do not want to remove it completely, you can deactivate it. If you need the calendar data in the future, you can still access it by reactivating the sub-calendar.
- Deactivated sub-calendars are inaccessible to all users, including the calendar administrator. To make it accessible, it must be reactivated.
- A deactivated sub-calendar works as a data archive: Data from the deactivated sub-calendar is not deleted or lost. You can reactivate the calendar to access its data (within historical data limits) at any time.
- Historical data limits apply to deactivated sub-calendars. Each calendar’s subscription plan determines how much of historical data you can access. These limits apply to deactivated sub-calendars. If data on an archival (deactivated) sub-calendar is older than the historical data allowed on your subscription, that data will not be accessible when the calendar is reactivated. Upgrade to access more historical data. See the pricing page for a comparison.
- Deactivated sub-calendars do not count against your subscription’s sub-calendar limit. Each subscription plan allows a certain number of active sub-calendars. See the pricing page for a comparison.You can have multiple archival sub-calendars over the plan limit, as long as they are deactivated.
- If you are at the sub-calendar limit, you can alternate deactivating different sub-calendars to access and export their data. Deactivating/activating sub-calendars in this manner will allow you to access all your calendar data in turn (within the historical data time limit).
Change sub-calendar status
- Open Teamup in a browser.
- Go to Settings > Calendars.
- Toggle the switch next to the left of the sub-calendar name.

- If you need to reactivate the sub-calendar later on, simply toggle the switch back to green.
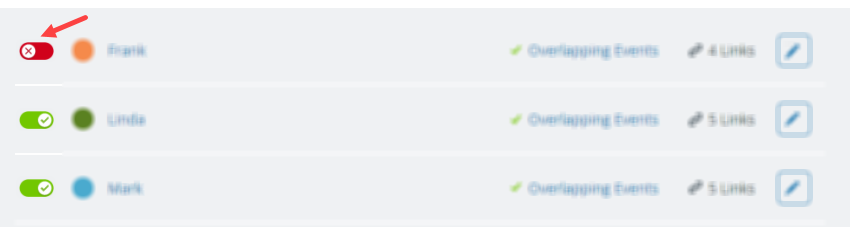
You can also change the sub-calendar status from the Edit screen:
- Open Teamup in a browser.
- Go to Settings > Calendars.
- Click a sub-calendar title.
- On the Edit screen, use the toggle to change the status from green (Activated) to red (Deactivated) or vice versa.
- Click Save.