
Single sign-on (SSO) is an authentication method that allows users to access multiple apps, systems, and tools with a single set of credentials. It’s a way to streamline the authentication process while utilizing an organization’s enterprise security infrastructure.
If your organization requires SSO and would like to add Teamup to your list of SSO-enabled applications, this is the right place to get started.
Note that an organizational account is required for SSO Support. See more information or contact us to get started.
This guide shows you how to configure OneLogin for Single-Sign-On with Teamup.
Request SSO Setup
An organization account is required to enable SSO for one or more domain names. Please contact Teamup Support (support@teamup.com) with the following information:
- Total number of unique users that need access to all calendars within your organization account.
- The domain name that you need to enable SSO. List all if you need to enable multiple domains.
Once the org account is active and the domain name is set up, you may proceed with the steps below.
Login to your OneLogin Dashboard
Login to the OneLogin Dashboard and choose Applications > Applications from the menu.
Single Sign-On Configuration
Create a new Application by clicking Add App.
In the Find Applications screen search for OIDC.
Select the OpenID Connect (OIDC) app provided by OneLogin, Inc.
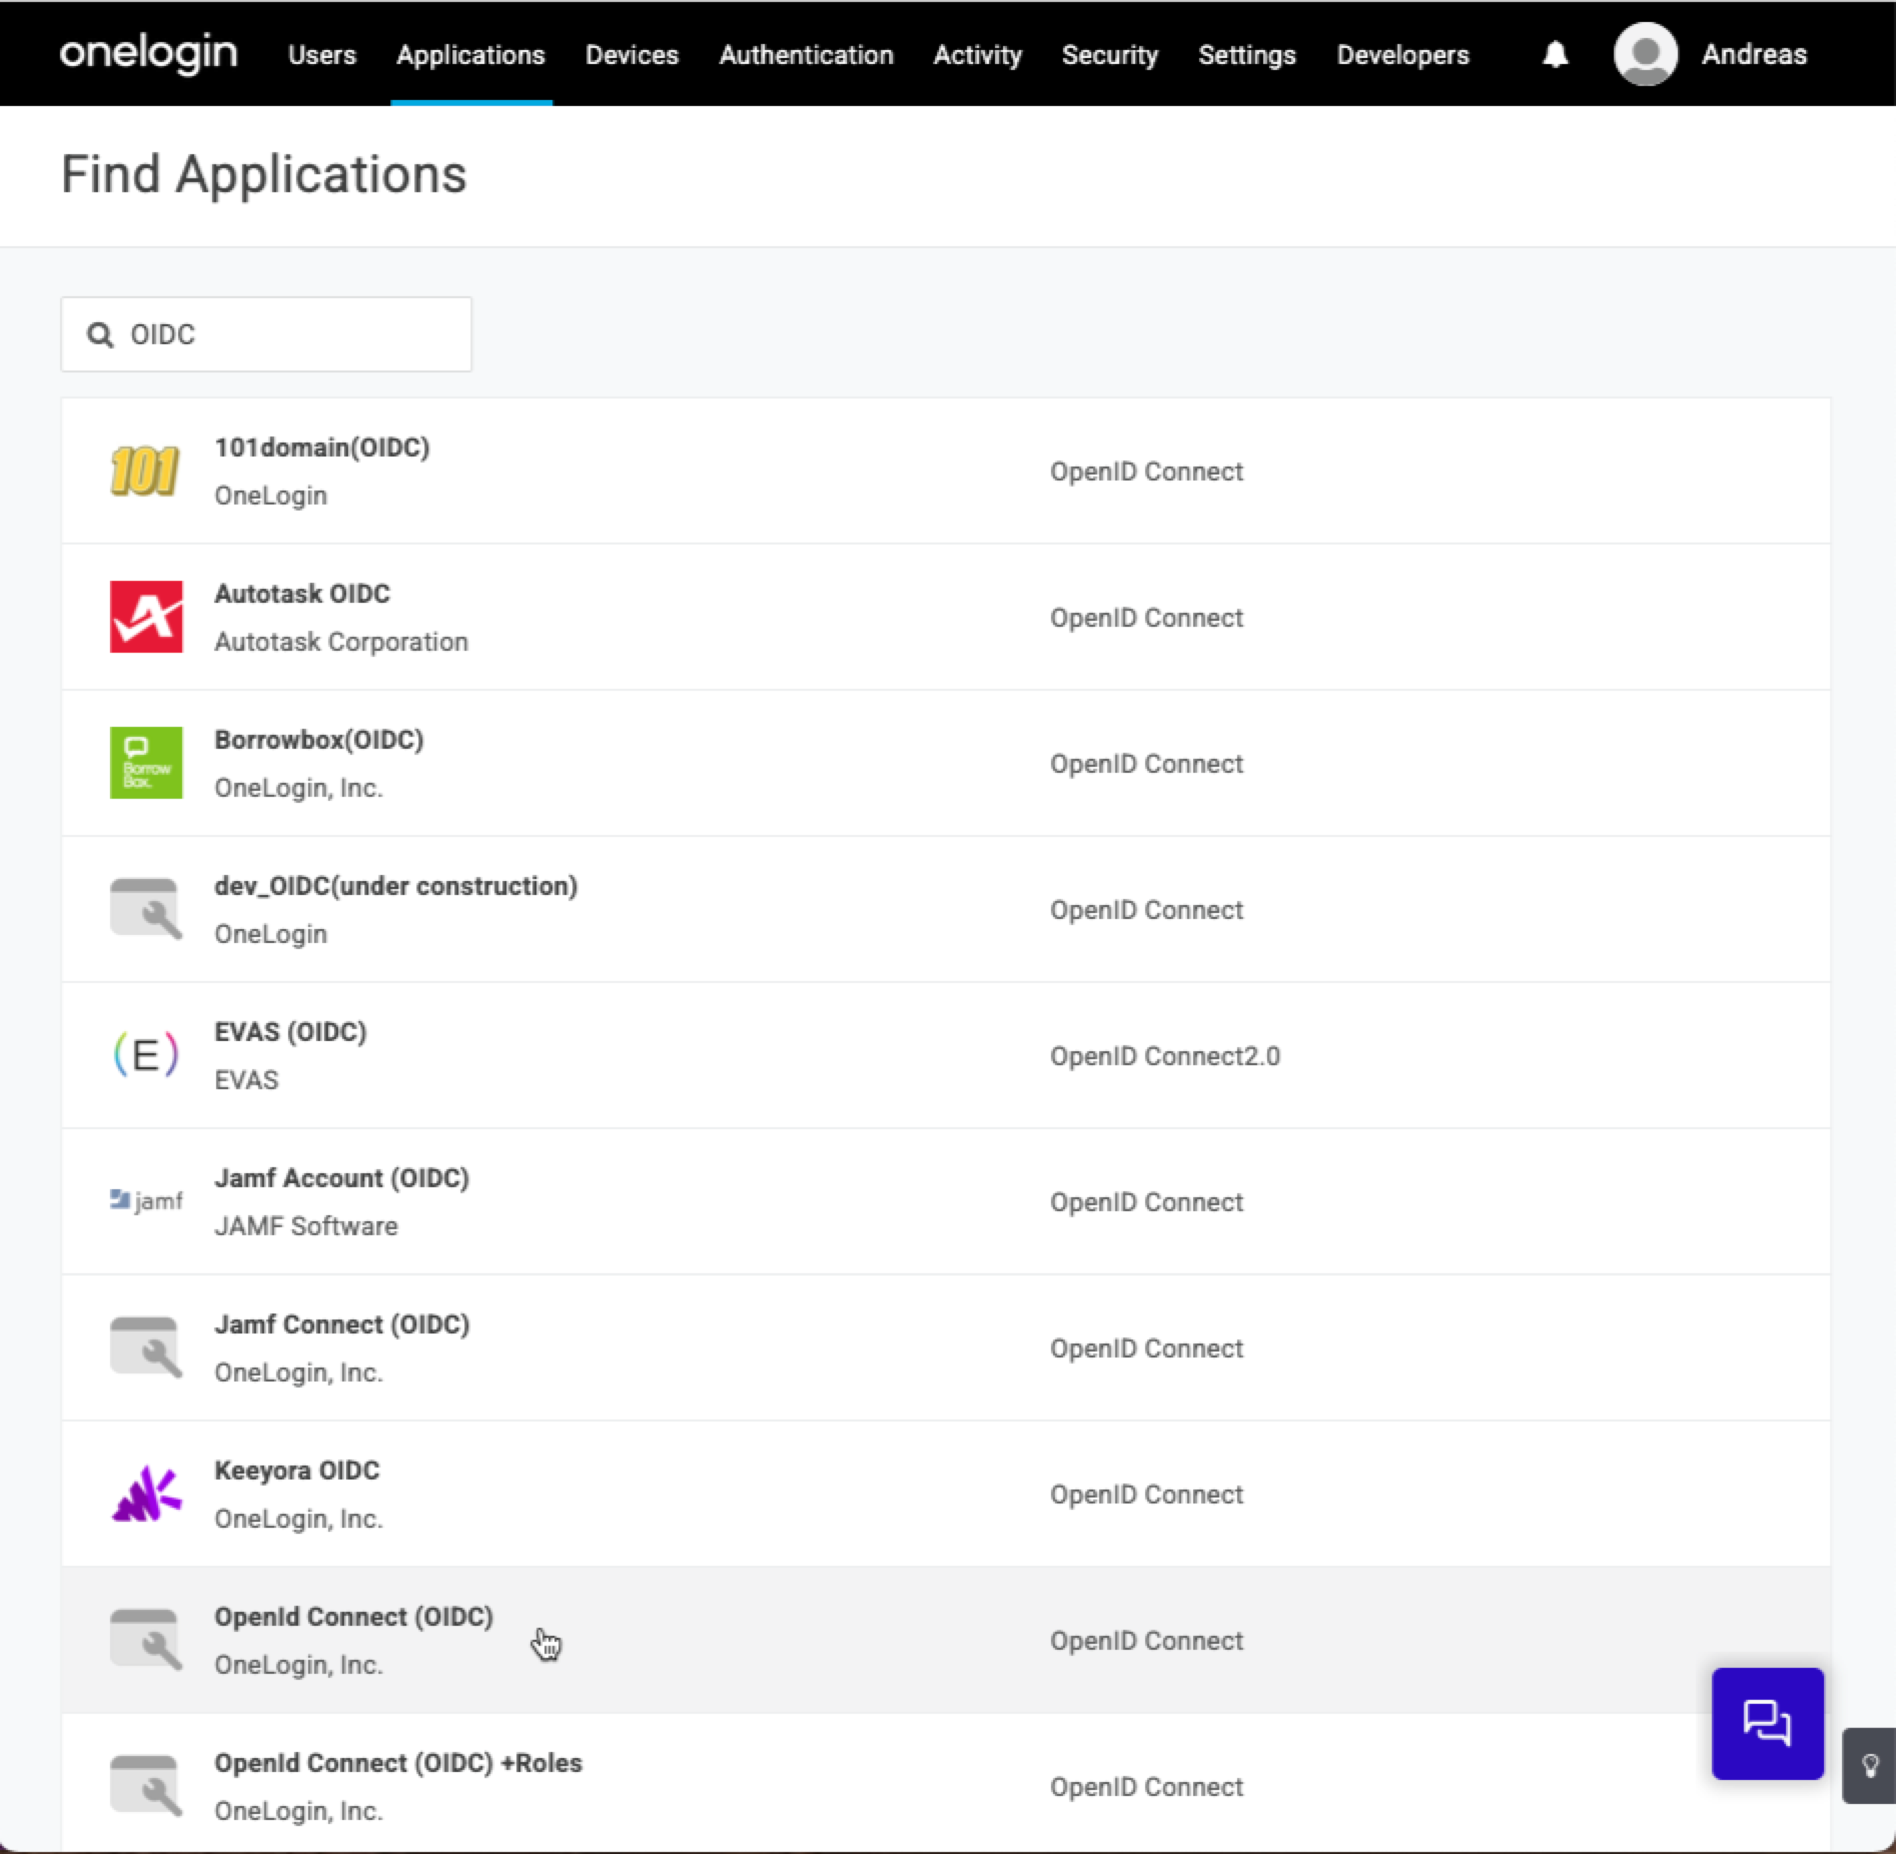
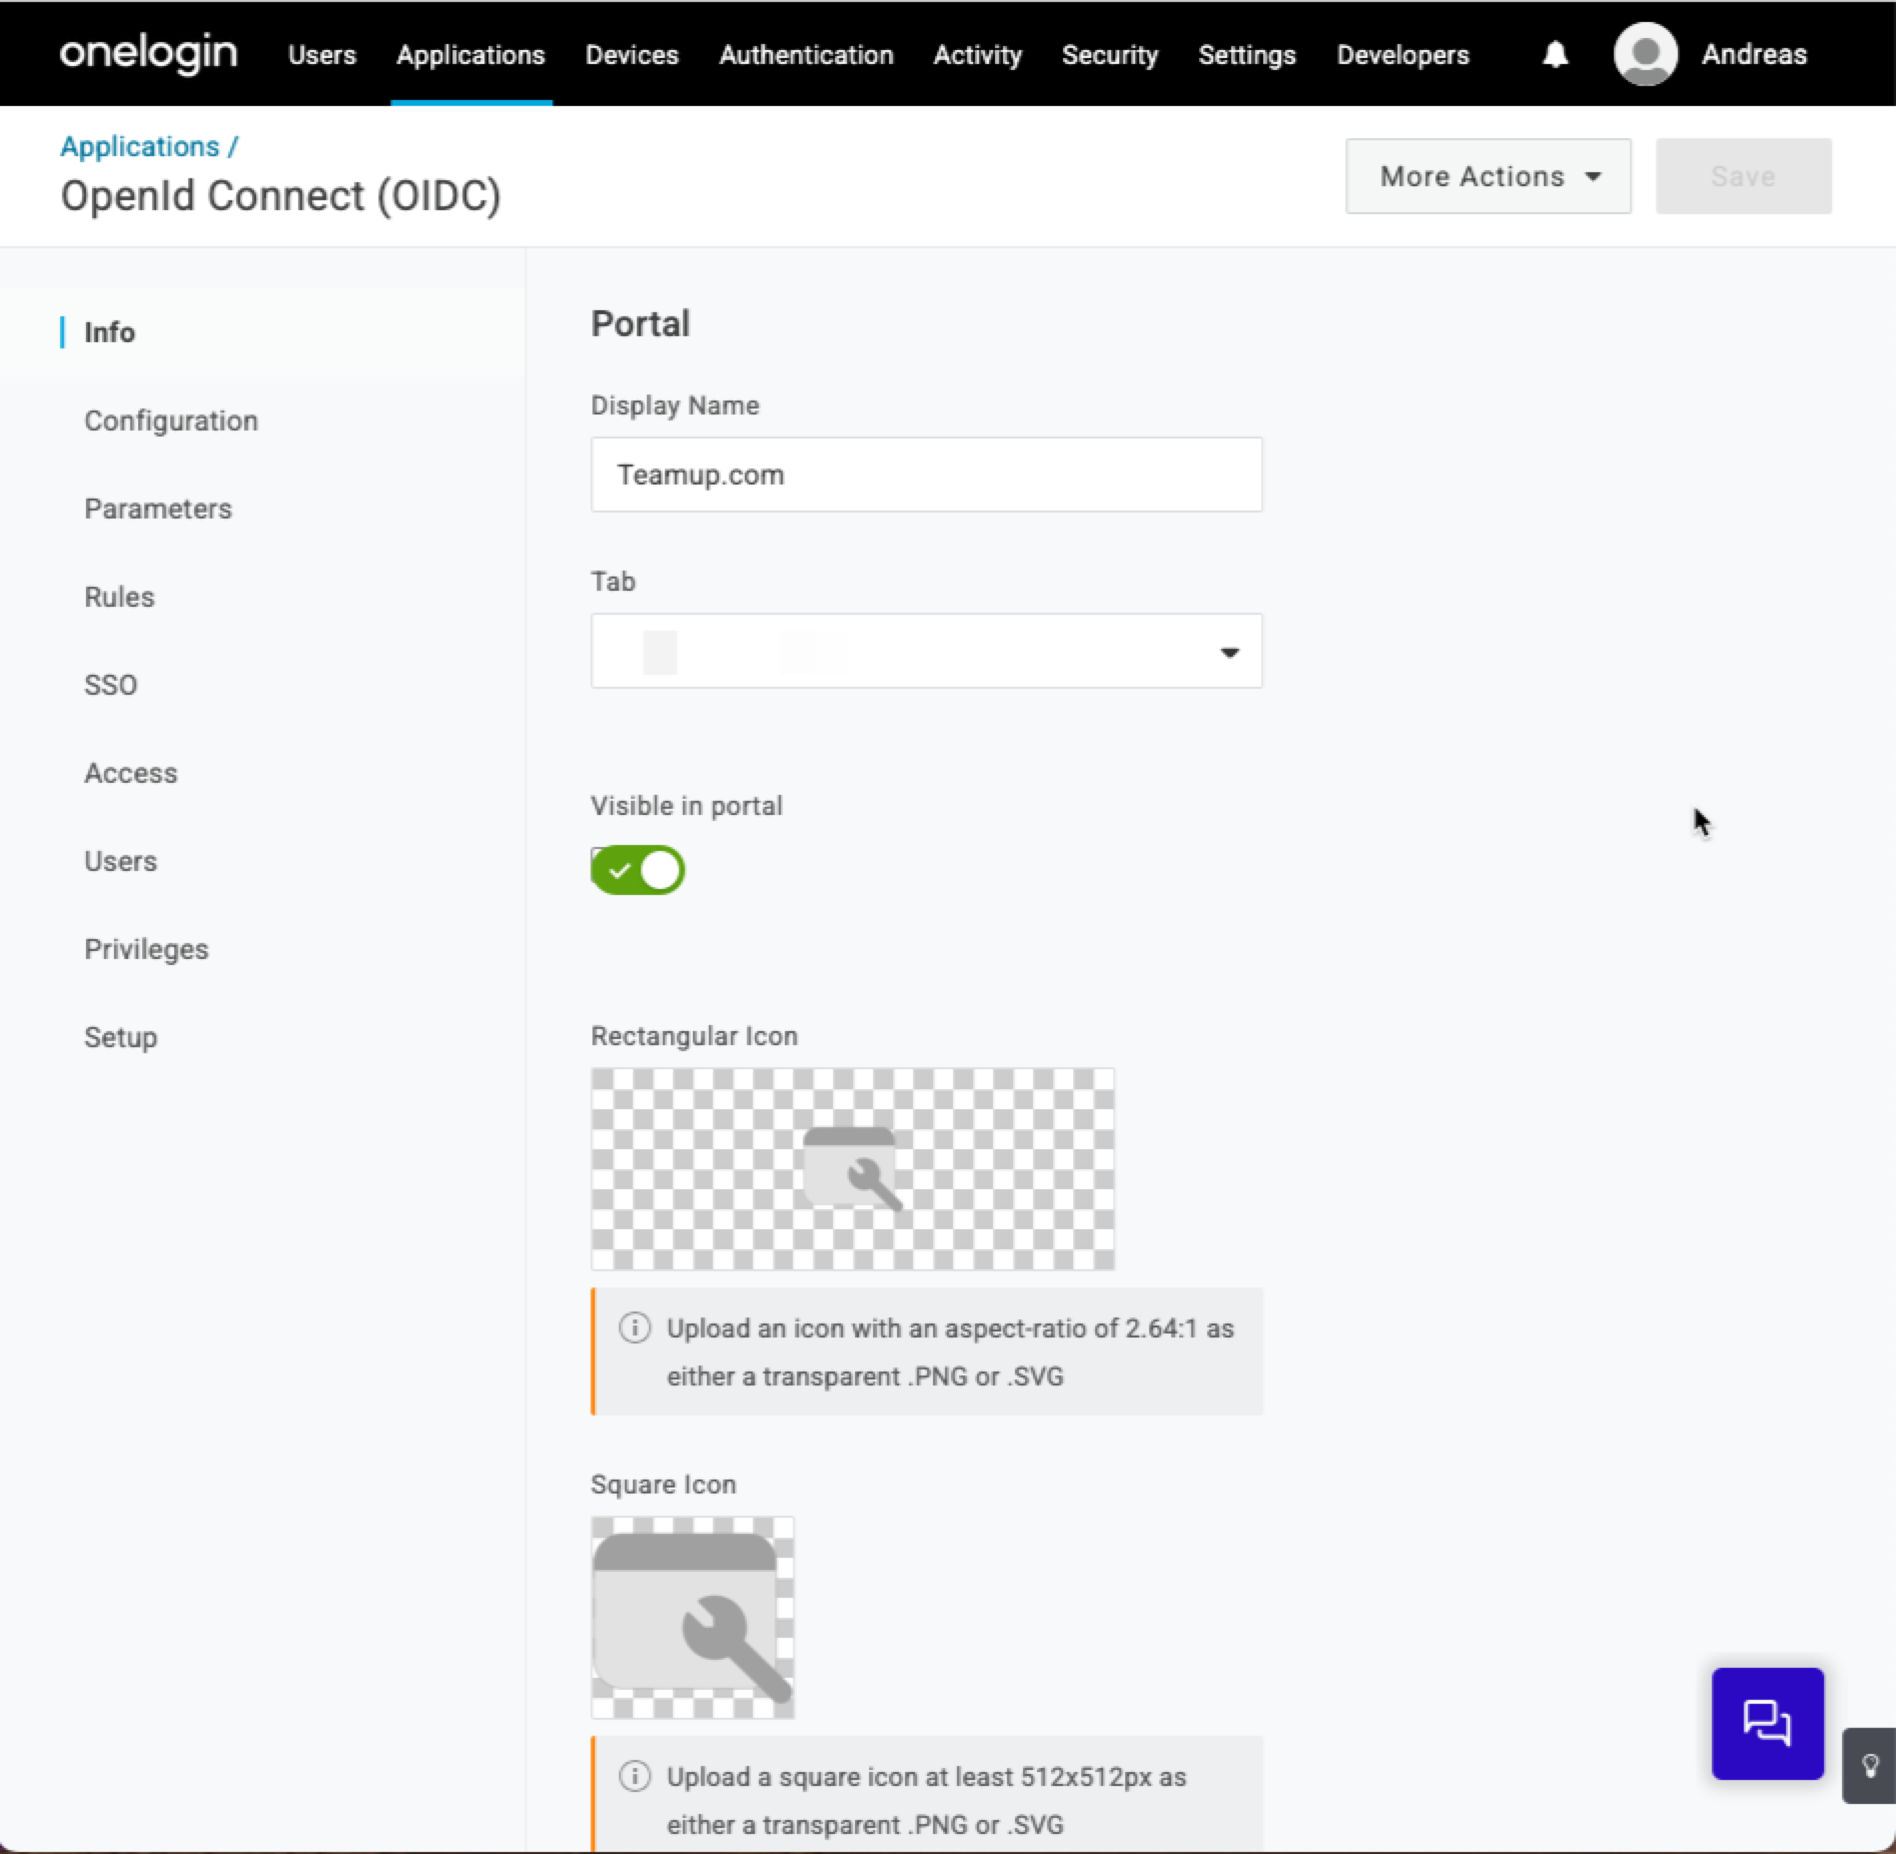
Provide a Display Name that allows you to identify the new app in the App Overview (e.g. Teamup.com).
Click Save.
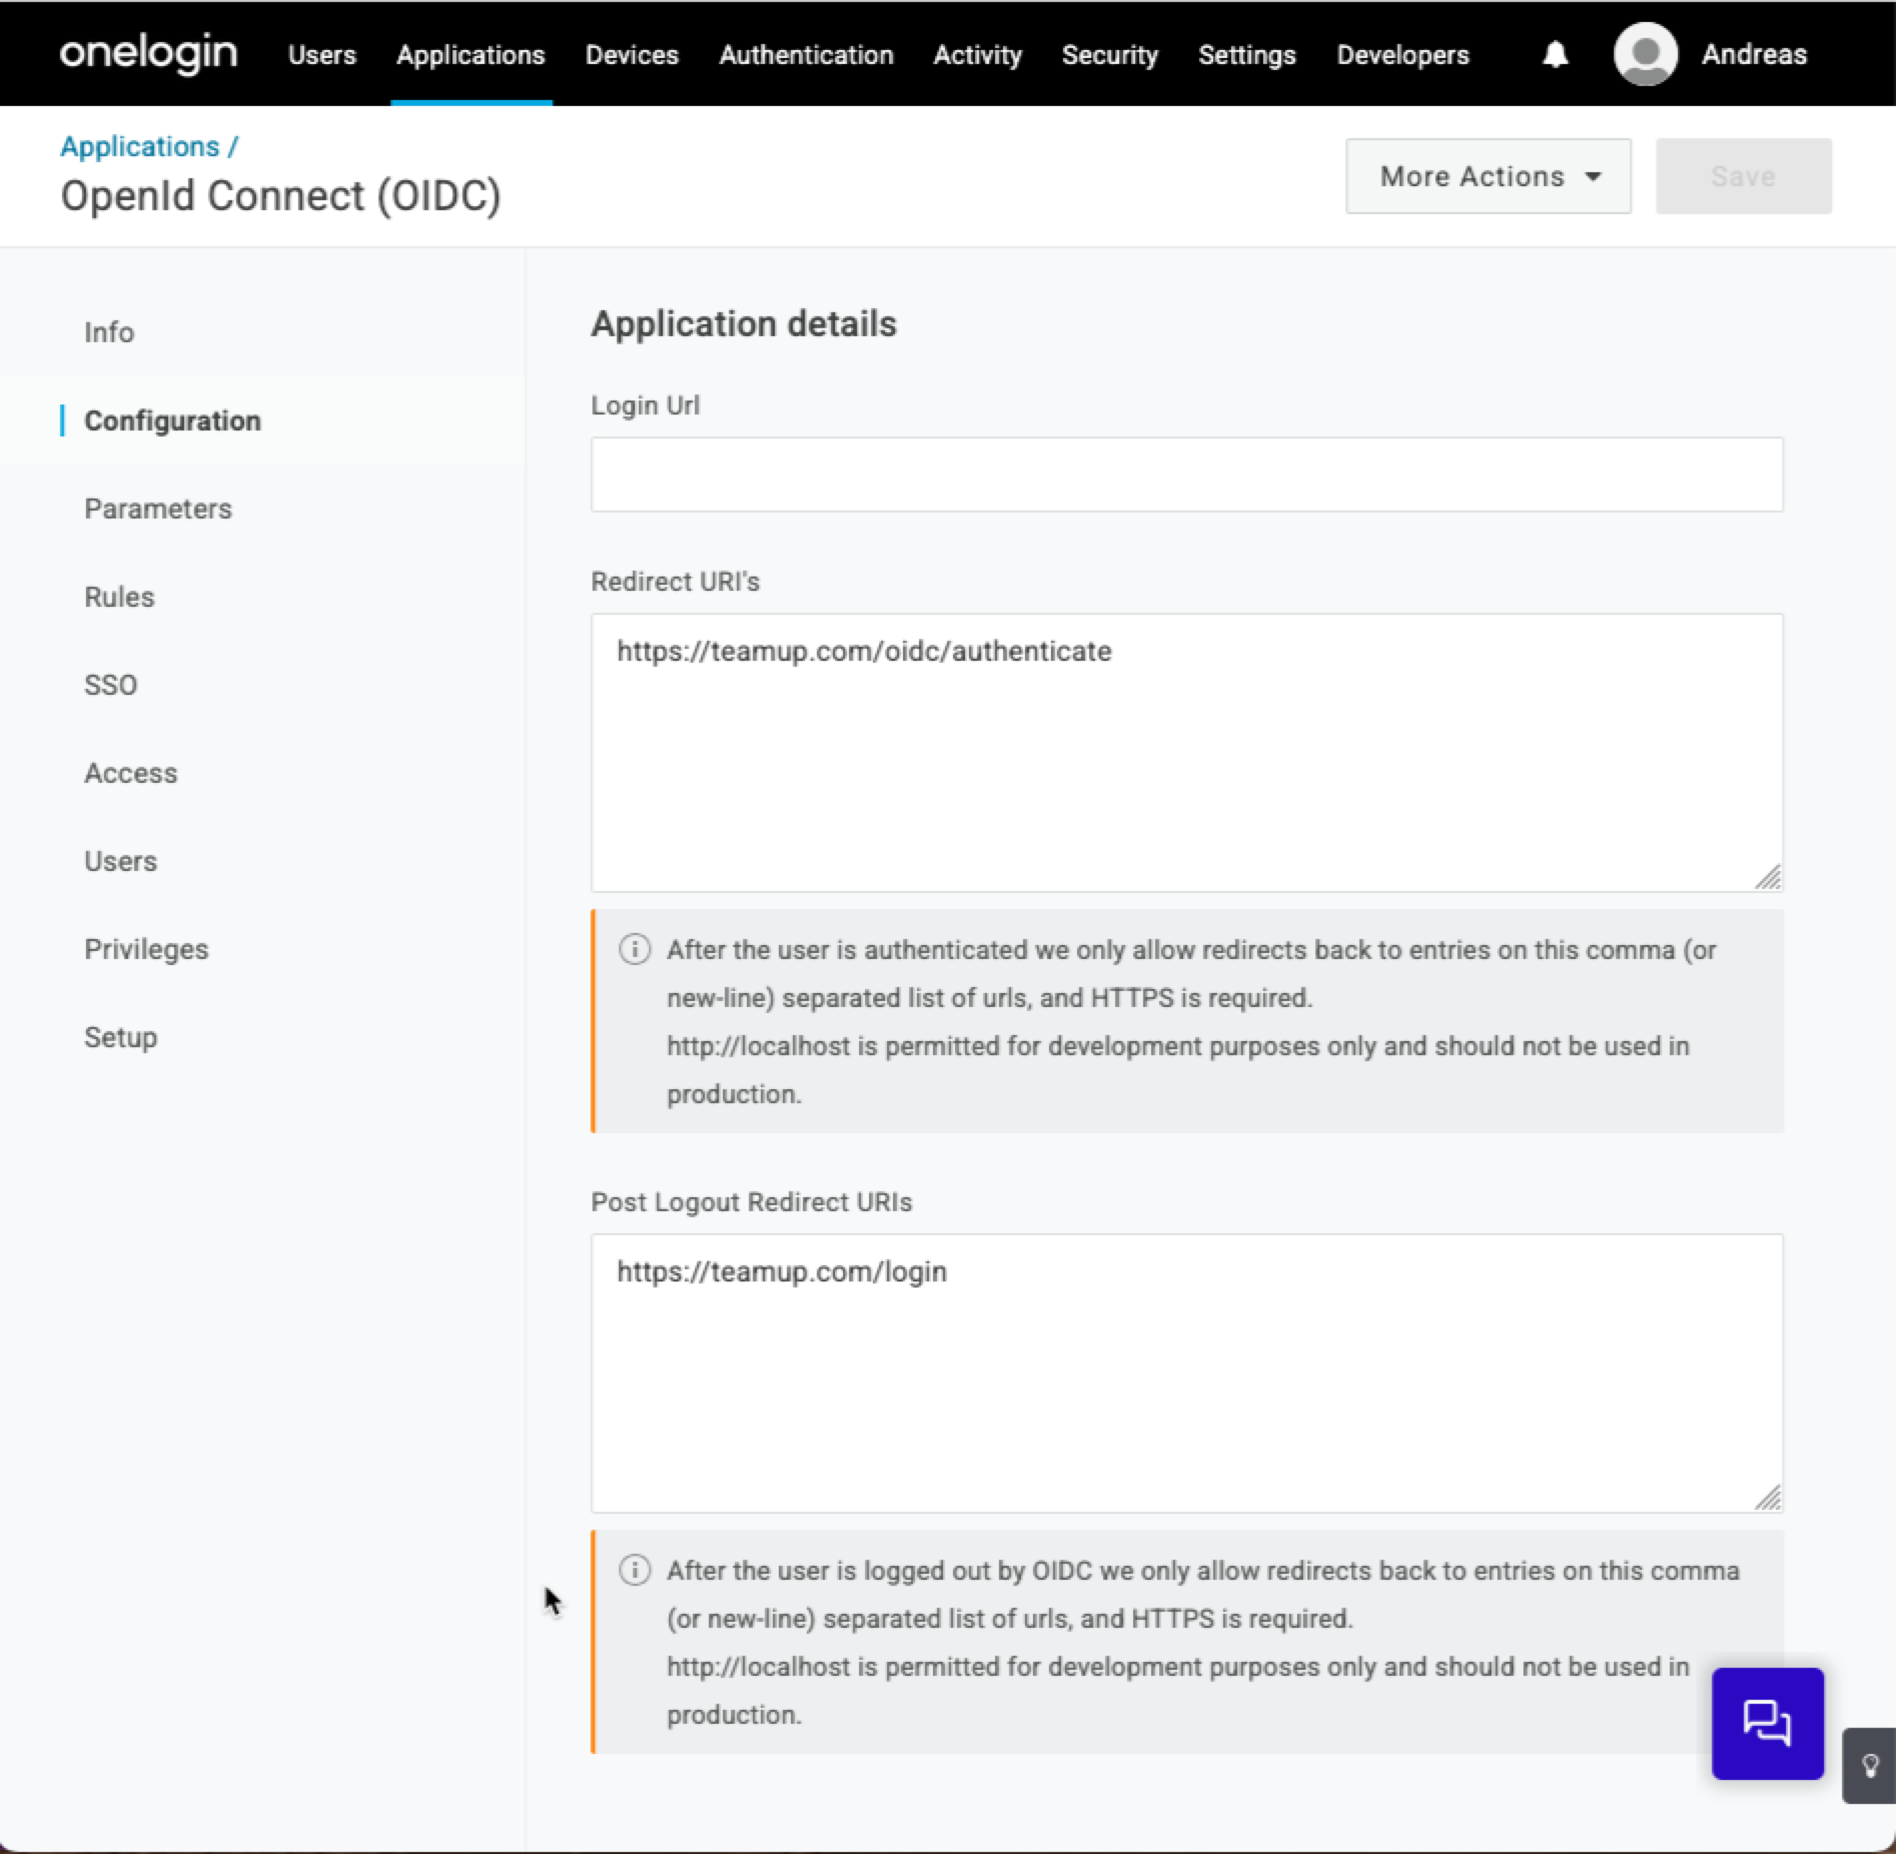
Click on Configuration.
Add this Redirect URI: https://teamup.com/oidc/authenticate
Add this Post Logout Redirect URI: https://teamup.com/login
Click Save.
Click on SSO.
Change the Token Endpoint value to POST.
Click Save.
Go back to SSO and click Show Client Secret. This will reveal the Client Id, the Client Secret and the Issuer URL. Copy these to use in the next step.
Configure the SSO integration on Teamup
Open the Trusted Domains page and edit the domain you want to configure.
Enter the three pieces of information from the previous step in the Teamup domain form. Take care to replace the italicized text by the respective values you copied in the step above:
- Issuer URL: Issuer URL value from above
- Client ID: Client ID value from above
- Client Secret: Client Secret value from above
Save the parameters. You should now be able to log out of Teamup and log in again via SSO. After entering your email in the login form you will see a “Log in via Single-Sign-On” link, or be redirected to the SSO login directly depending on your domain configuration.
Testing Single Sign-On
After you have configured SSO for your domain verify that it works. By default, SSO is configured to be optional. That means that users with existing Teamup accounts can still log in without SSO and new users can still register for a Teamup account without SSO.
Test SSO with your organization’s login:
- Navigate to https://teamup.com/login (make sure you are not logged in).
- On the login form, enter an email address of the domain for which you have enabled SSO. Then click “Continue”.
- The server detects that SSO has been enabled for that domain and offers a link “Login via Single-Sign-On” below the login button.

- Follow the link “Login via Single-Sign-On” and on the next view click “Log in”. If everything is set up correctly, your browser will now be forwarded to the login page of your organization’s identity provider.
- Log in with your organization’s email address and password. If successful, your browser will be forwarded to your Teamup dashboard.

A note for users with existing Teamup accounts: On your first SSO login, your Teamup account will be converted to an SSO account. It will not be possible anymore to log in with your Teamup password.