The time zone indicator shows which time zone the calendar is currently displaying. You can change the time zone easily by clicking on the time zone indicator.
On the Teamup app
- Swipe to open the left sidebar.
- Tap the gear icon.
- The time zone indicator is the top menu item.
- Tap it to change the time zone.
On a browser
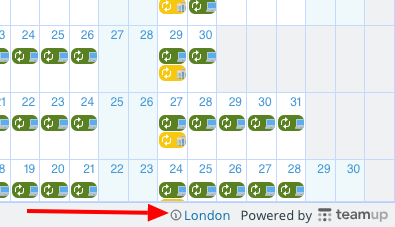
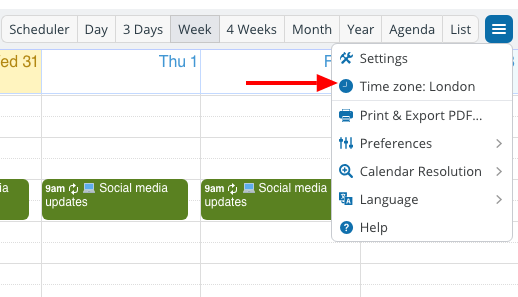
The time zone indicator is shown in two places:
- The blue menu in the top right
- The bottom right of the calendar:

To change the time zone:
- Click the time zone indicator in either location.
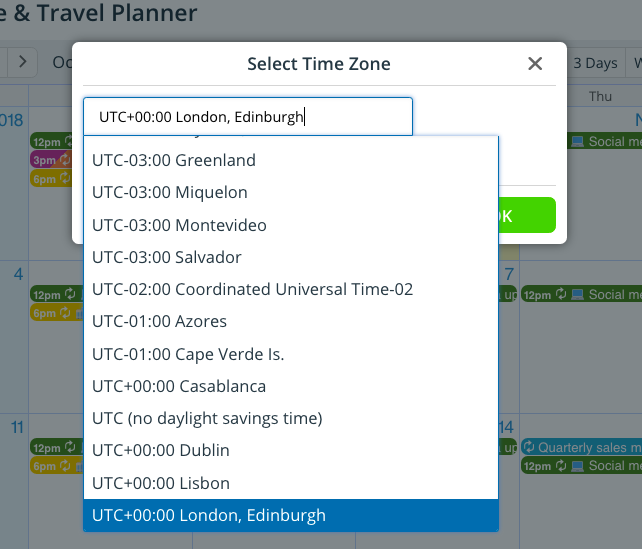
- A pop-up window will appear. Check the box to Show All Time Zones.
- Choose the time zone you need from the drop-down list.

About time zone management
Automatic event time adjustment
All events on the calendar will automatically adjust to the time zone you have chosen to display.
This way you always see the event time relative to your currently displayed time zone, but the event time itself stays the same, for example, 2pm Eastern Time and 11am Pacific Time.
For example, if your calendar is displayed as Eastern Standard Time, then a 2pm event on the calendar means it will take place on 2pm in Eastern Standard Time. When you change the time zone indicator to Pacific Standard Time, either in the bottom right or in the dropdown of the menu in the top right, the same event will be changed to 11am.
Automatic time zone detection
To make things easier for calendar users, you can enable automatic time zone detection. This will ensure that when a calendar link is opened, it automatically sets to the time zone set as local on that calendar user’s browser or device.
- Open Teamup in a browser.
- Go to Settings > Date and Time
- Check the Enable automatic time zone detection box.
ℹ️ Learn more

