With Teamup Calendar, you can upload images and documents to an event both in a browser and with Teamup mobile apps. There are three fields where you can upload files: in the Description field, in the event comments, and in the Attachments field.
Calendar events are often more than a date and a time. You may need to include event-related documents and files: meeting agendas, travel information, checklists, instructions, maps, location details, product images, or a picture of goods delivered.
You can upload files to Teamup calendar events on a browser and on the mobile apps. Different subscription levels have different storage space limits. See the pricing page for details.
Upload in the Description field
Here’s how to upload a file in the Description field. See also how to add an image from a URL or from Dropbox.
- Open the event editor.
- Scroll to the Description field and select the upload icon.
- If the file is an image, you can choose to show it as visible image or a clickable link.
- Save the event.

To resize an image, select it with your mouse, then click and hold a corner and drag adjust the size. To align an image, click the three dots in the toolbar, then choose the alignment.
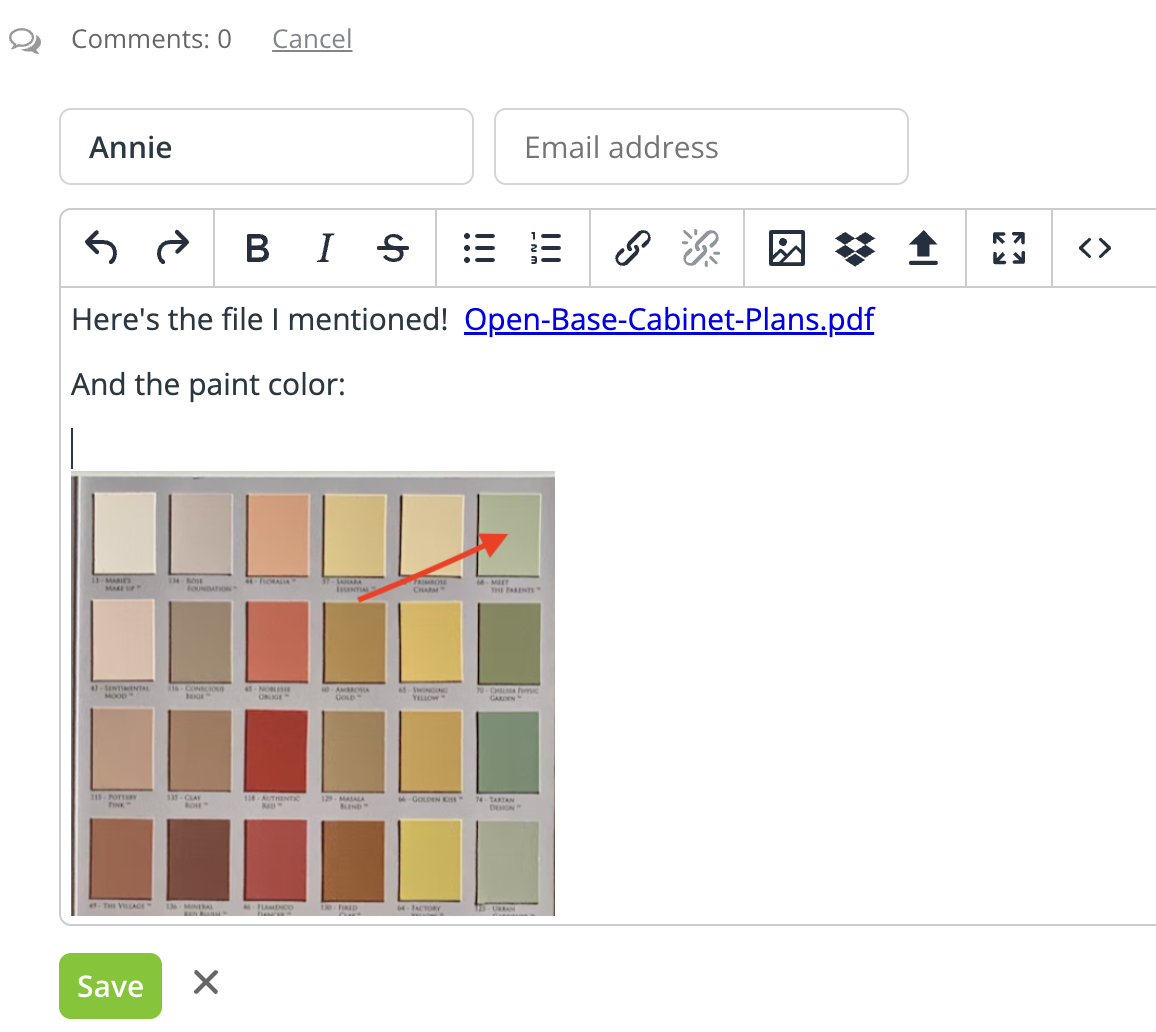
Upload in event comments
When the Comment feature is enabled, users can add and view comments in the event viewer/editor, and on the event page. Event comments have a toolbar like the Description field with formatting and uploading options. See more about event comments.
- Open the event.
- Scroll to the Comments field and select Add Comment.
- Select the upload icon to add a file or image. If the file is an image, you can choose to show it as visible image or a clickable link.
- Save the comment, then Save or close the event.
Upload in the Attachments field
The attachments field allows you to upload files to an event in a dedicated field. You can then choose to insert attachments into the description field, if desired. You can upload multiple files and show or hide the list of attachments in the field.
Calendar admins can deactivate this field or reorder it.
Upload an attachment
- Open an event or create a new event.
- Scroll to the Attachments field.
- In the Attachments field, select Upload:

- Select the file you wish to upload and follow the prompts. You can upload multiple files. In the Attachments field, you’ll see a thumbnail of each file beside the file name.
Working with files in the attachments list
- Click Copy URL to copy an attachment’s unique URL.
- Click Delete to delete any attachment.
Note: files uploaded to the description field or added to an event comment will not be included in the list of files in the attachments field.


Upload on Teamup mobile apps
Uploading a file or image on Teamup mobile apps works much the same as it does in a browser.
Upload in the Description field
- Tap to create an event, OR
- Tap an event to open it, then tap the Edit icon.
- In the Description field, tap the blue Upload link
- Tap the green + button in the bottom right.
- Choose the file source, then tap to choose the file and tap Done (top right).
- Tap the check mark (top right).
- Choose whether to insert as a visible image or clickable link.
- Tap the check mark to save.
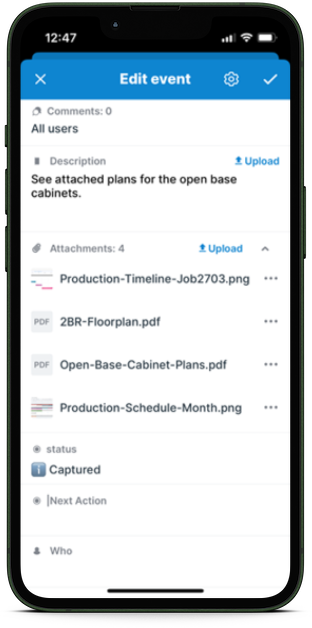
Upload in the Attachment field
Follow the same steps as above, but tap the blue Upload link in the Attachment field.
Upload in the event comments
- Tap to open an event.
- Tap the blue Add Comment link.
- Tap the blue Upload link to add a file or image.
- Tap the green + button in the bottom right.
- Choose the file source, then tap to choose the file and tap Done (top right).
- Tap the check mark (top right).
- Choose whether to insert as a visible image or clickable link.
- Tap the check mark to save.
Preview files in the Attachments field
On a web browser, click any file in the Attachments field to preview. Use the arrow to preview multiple images or documents.
Similarly, on a mobile app, tap any file to preview and swipe to preview multiple files.
More about uploading files
Multiple file and image sources
On the browser, when you click the upload icon, a pop-up window will appear:
- You can paste an image that you have copied to your clipboard.
- You can choose from the list of source options or drag a file from your local computer or mobile devices, or one of the many supported file hosting services such as Dropbox, Google Drive, OneDrive, Instagram, Flickr and many more.
It is possible to upload multiple files or images at once.
Supported file sources
- My Device
- Dropbox
- Google Drive
- OneDrive
- Flickr
- Box
- Link / Web images
Teamup file and image management
Each file uploaded using Teamup’s premium uploading feature is assigned a unique URL containing a randomized string that prevents unauthorized users from finding the document.
Uploaded documents are deleted 30 days after a document link is removed from an event or an event is deleted.
Supported file types
To know whether a file with a specific file format can be uploaded, you may check the MIME type of the file. The following MIME types are currently supported:
- image/
- text/
- application/
Many commonly used file formats such as .pdf, .doc, .ppt etc. have MIME type “application/”, therefore you can upload and attach them to your events. Here is a summary list of file formats and their mime types.
Maximum file size
The maximum file size that can be uploaded is from 10MB to 20 MB, depending on subscription plan. The available file storage space per calendar varies according to subscription plan. See the pricing page for details. If you reach the file storage limit for your subscription plan and need more space, please contact support@teamup.com.
Domains to be whitelisted
If your organization uses a firewall to control your network traffic, it is important to whitelist these domains to ensure the file uploading function to work properly:
- fonts.gstatic.com
- fonts.googleapis.com
- s3-eu-west-1.amazonaws.com
- static.filestackapi.com
- process.filestackapi.com
- www.filestackapi.com
- upload.filestackapi.com
- cloud.filestackapi.com
- cdn.filestackcontent.com
Insert images from Dropbox and other files accessible online
On a browser, inserting files stored on Dropbox or elsewhere online is free to all users. To do so, simply click the Dropbox icon or the image icon in the Description box or in an event comment. See here for more details.